Table of Contents
Cloud Station Server
Installation
- Install Cloud Station Server from Package Center
- Open or port forward port 6690 to your DSM
- Define your concept for syncing folders. Initially, only the user home directory is available to sync. However, note that anything within the user home directory cannot be synced with another NAS through Cloud Station ShareSync.
- I suggest to create a shared folder documents on your DSM and sync it with your Documents folder on your main computer.
- Create other shared folders on your DSM first, then go to Cloud Station Server and enable them for syncing
Clients
Windows
- Download the Desktop app and select the shared folders available for sync
- Check the file attributes and make sure none of the ones are set which Cloud Station does not sync
iOS
- Install the Cloud Station app on your mobile device. Select the shared folders available for sync. Note that synced folders get fully stored on your mobile device, however, you can limit the file size to sync in settings.
Synology DSM
- Install Cloud Station ShareSync on the Synology NAS you want to sync with Cloud Station Server.
- Select the shared folders from the server you want to sync with the client.
CloudStation Backup
Install Client
- Download CloudStation Backup from Synology Download Center. The following screen shots are taken on a Windows 10 client, but should show similarly on any other client.
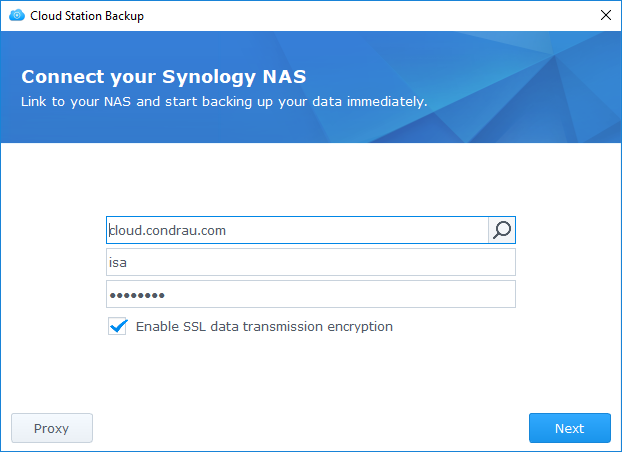
- Start the downloaded installer and enter domain name, user name, and password in the first screen. Click “Backup rules”.
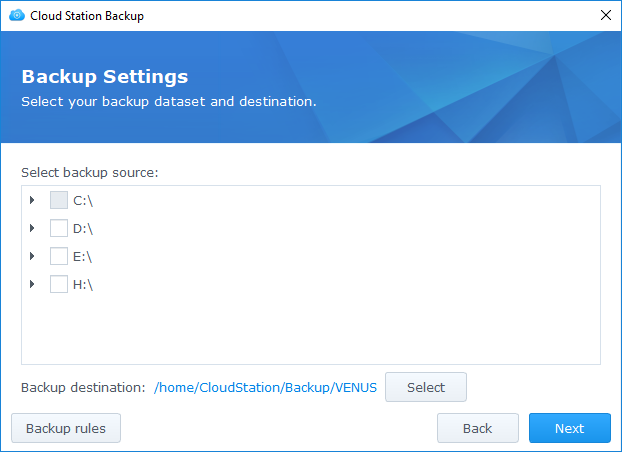
- Select the backup source. Click on the the small “triangle” before the drive identifier to expand or minimize the content of the drive. Click the checkbox to include or exclude the folder from backup. Click “Next”.
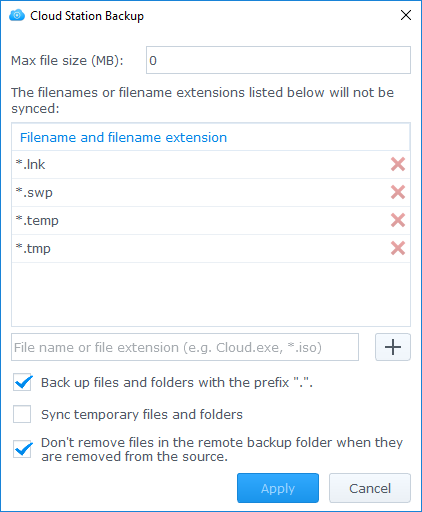
- Make sure “Don't remove files in the remote backup folder when they are removed from the source” is checked. Click “Apply” or “Cancel”, then “Next”.
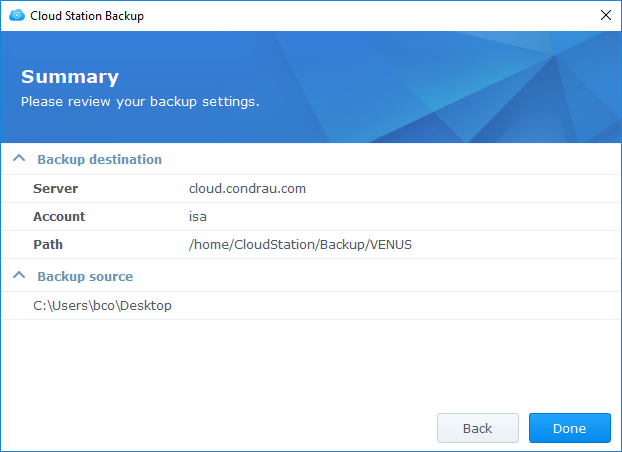
- Review your backup rules. Click “Next”.
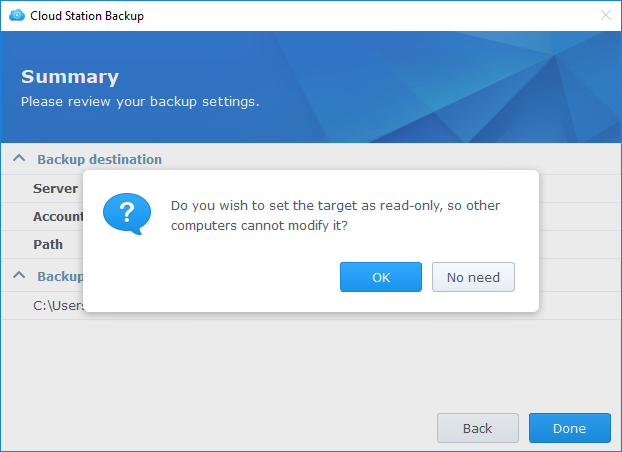
- Do not set the target as read-only, so Click “No need”, then “Done”.
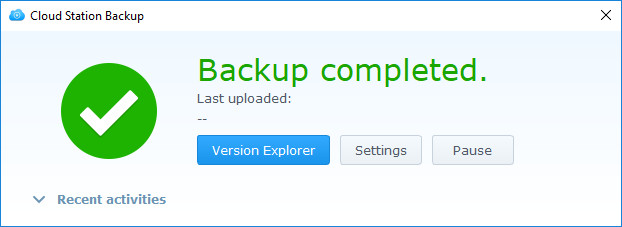
- CloudStation Backup will start backing up your data immediately, and display the following when done.